Table of Contents
Hey guys,
I have only great things to say about Hostinger’s VPS hosting, it’s really fast out-of-the-box, has Varnish cache that you can enable with 1 click and even Pagespeed. Varnish creates a static copy of your pages to serve non-logged in users, while Pagespeed will minify your page’s html code to further optimize load times (you do have to test your pages to make sure nothing breaks, but for normal WordPress site it should work just fine, if it doesn’t just keep the Varnish cache option, that really speeds up page load times by itself as well.)
So, here are the basic steps to setup your WordPress site on hostinger’s VPS KVM hosting, in my case it’s KVM2 (the one with 2 cpu cores, 8GB of RAM, 100 GB of SSD space, and 8 TB bandwidth, and a Dedicated IP too, super important not share it with spammy sites like is the case on shared hosting – you’ve got hundreds of sites sharing the same IP). With the referral discount this is a super deal compared to other VPS providers, especially when you prepay for 24 months, which ends up saving you money in the long run.
Which Applications/OS to select when setting up the VPS server
In my case I selected WordPress and Cloudpanel during setup, be default the selected OS is Ubuntu, so it will all be preinstalled for me, easy peasy.
Step 0: Point your Domain to your site’s server IP
This is done in your Domain Registrar, whether that’s Name.com, NameCheap.com or other…
You’ll want to go to the DNS settings from the the domain management screen, and make sure there are 2 A records: “@” and “www” both pointing to your VPS IP (in the “Value” field, greyed out below). If you need to add a DNS record just click “+Add new record”. But this is what you want to end up with:
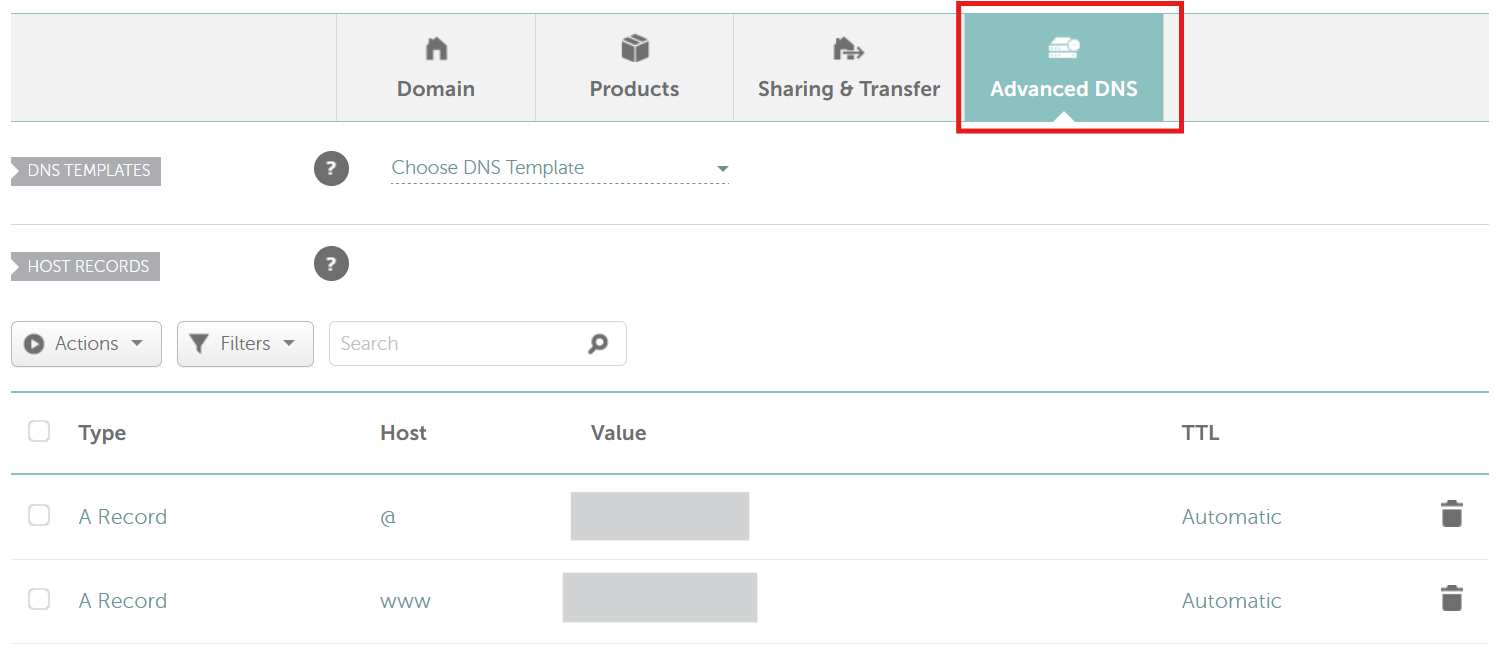
You can find your VPS’s IP on the VPS screen inside Hostinger Hpanel or the Cloudpanel dashboard for the site

There might be a propagation delay after this step, usually 5-60 minutes at most for this to take effect.
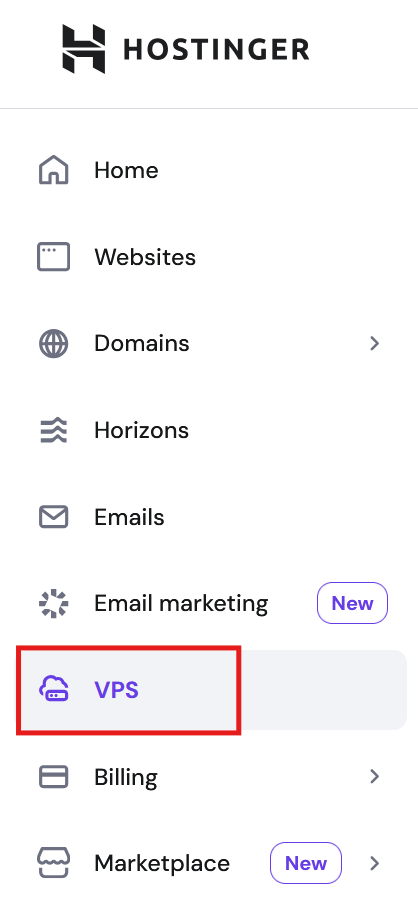
Step 1: select VPS from the hostinger hpanel
Go to: https://hpanel.hostinger.com
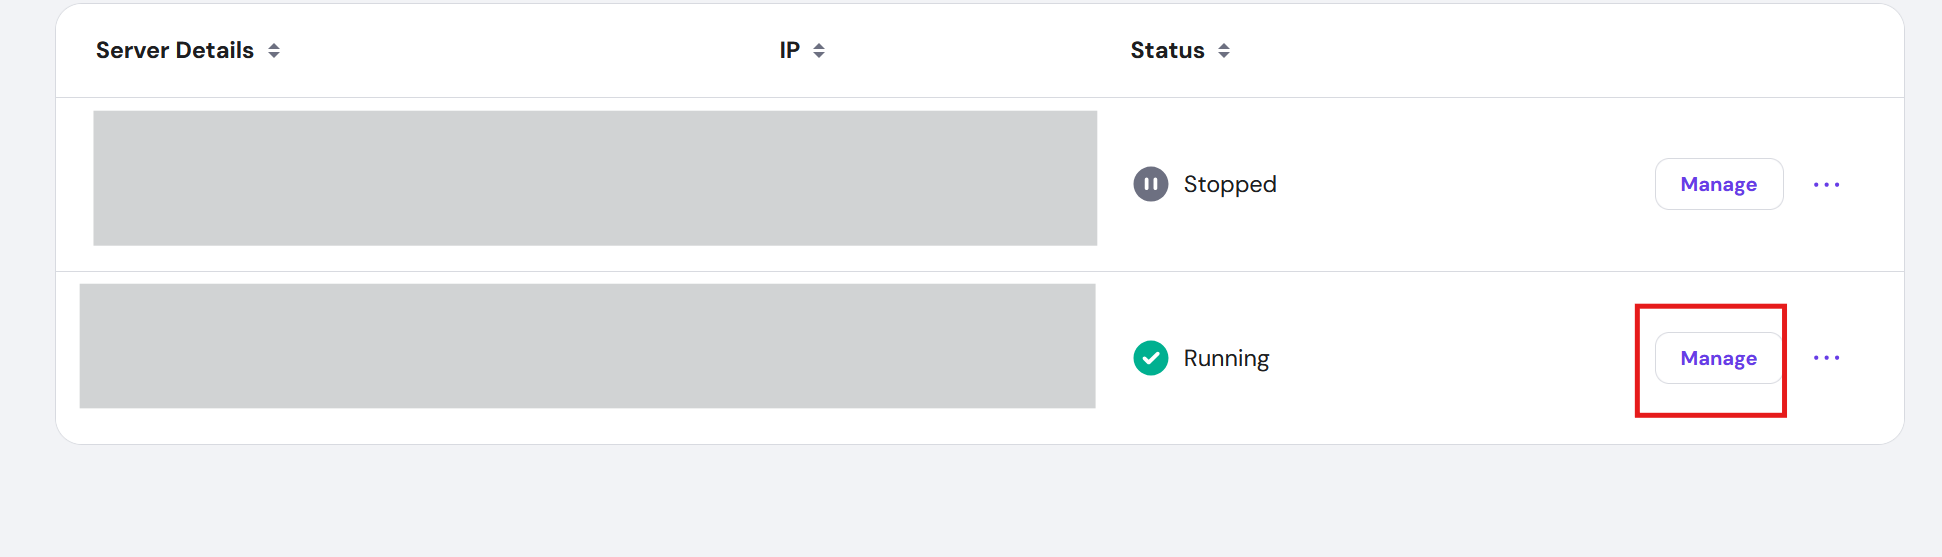
Step 2: go to Manage next to your VPS server
Step 3: click Manage Panel
I have Cloudpanel

Step 4: select your site (or click +Add Site if you don’t have one in the list)

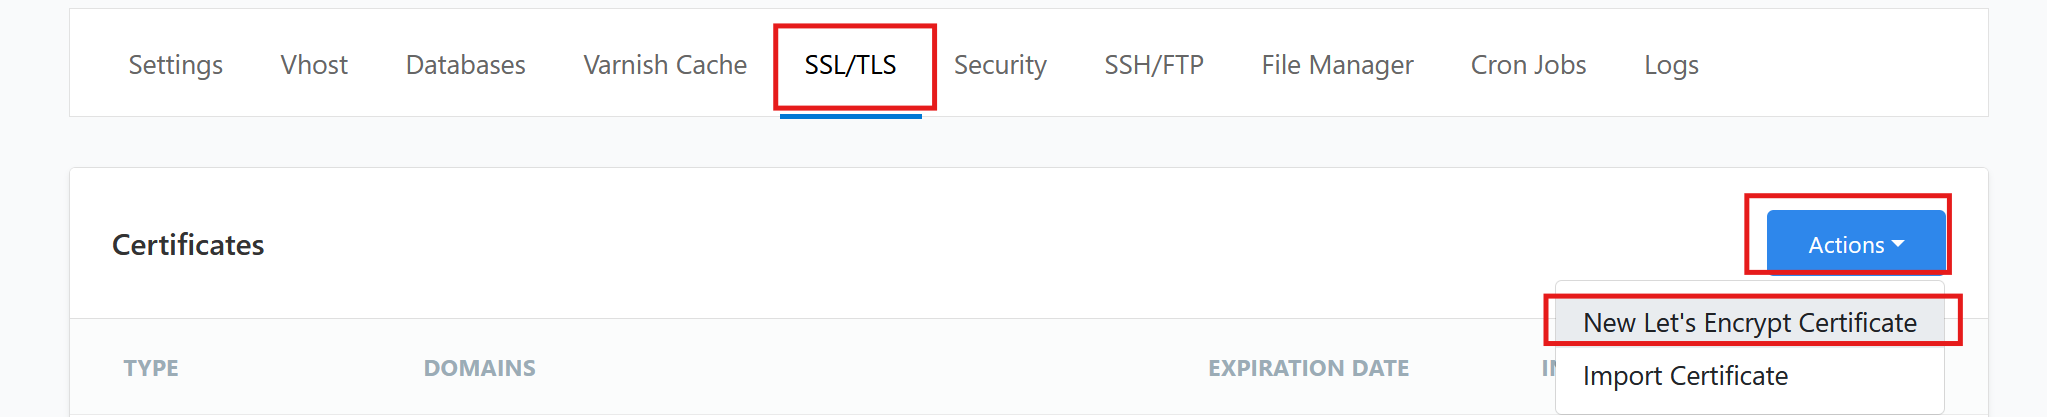
Step 5: install SSL (Let’s Encrypt certificate is free!)
We’re using a Free Let’s Encrypt ssl certificate
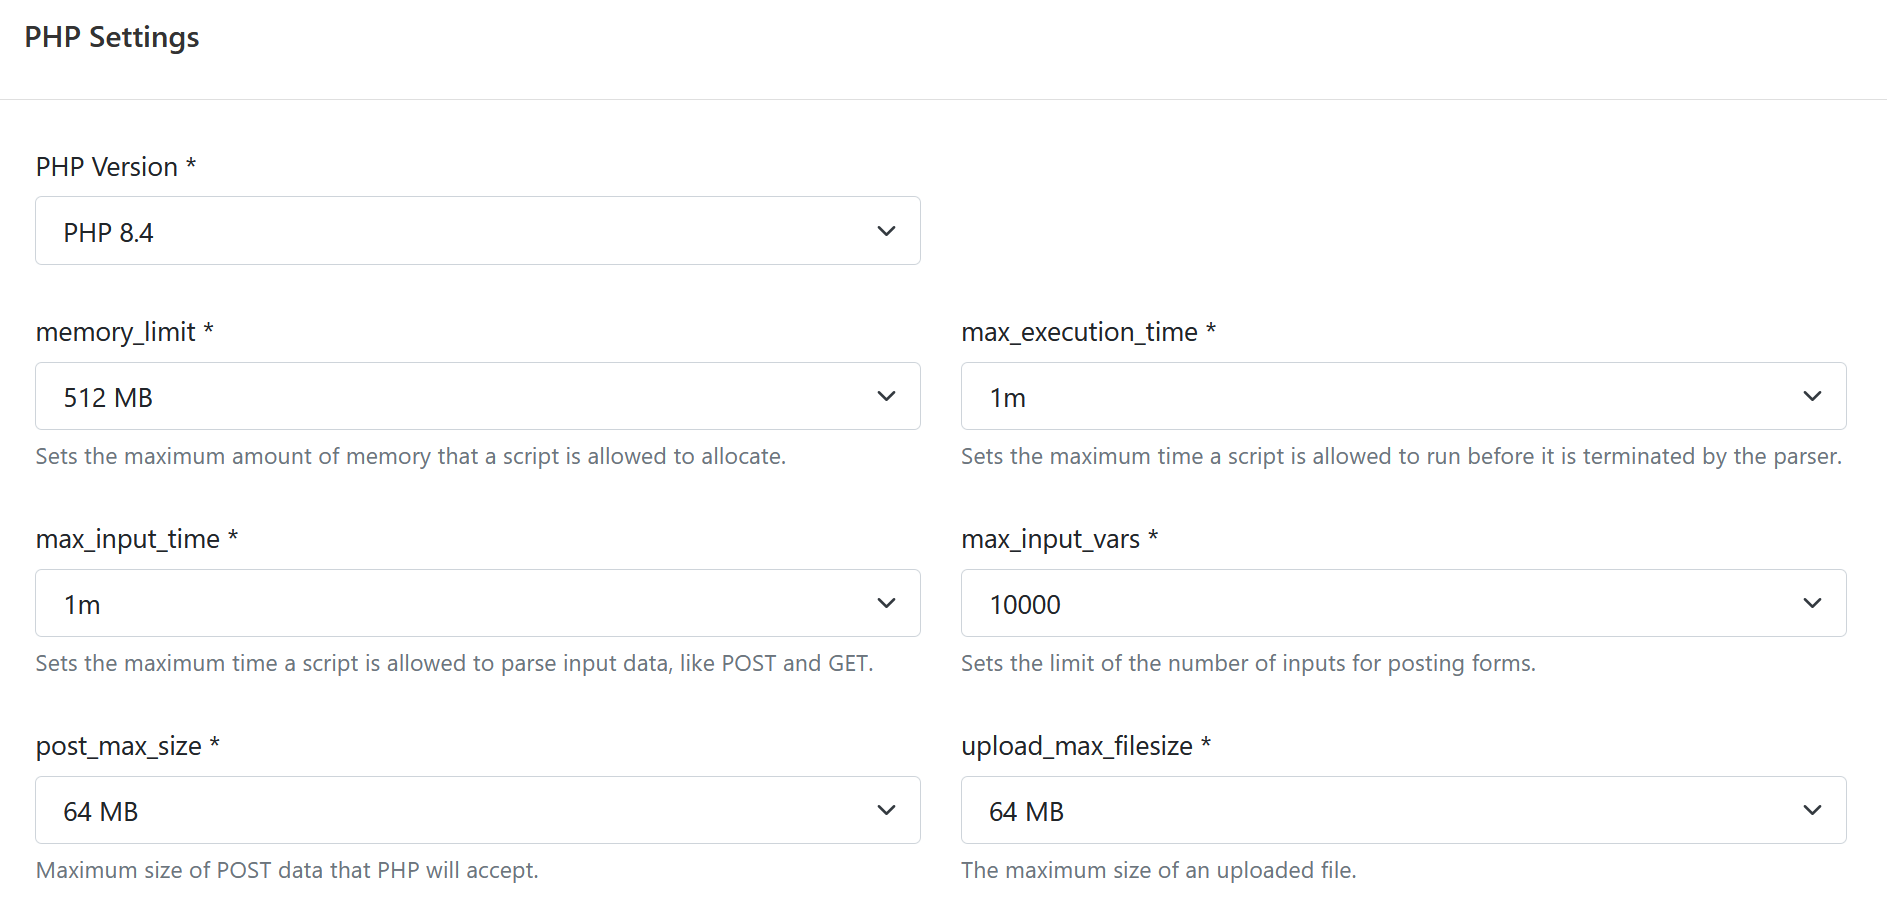
Step 6: check my PHP settings
This php configuration suits me well, and should suit most wordpress sites with memory to spare. It’s a good idea to choose the latest PHP version.
Voila, you should be ready to access your wordpress site by going to yoursite.com/wp-admin and start creating your first site!
Downsides of Hostinger KVM hosting gplans
The only downside to these VPS hosting plans is there is no email included, so they upsell you on email services, it’s not expensive, but if you’re cheap like me, you can get Grok or Chatgpt to guide you through installing Dovecot + Postfix + Roundcube, it’s a bit of a pain in the ass and will take at least a couple hours to work out all the kinks by checking logs and feeding them to the AI to troubleshoot, but it’s up to you (honestly just paying for it will save you a lot of headaches). If you do decide to go the free self-hosted email route you’ll need to use SSH, you can just copy-paste some commands – I downloaded Putty from the Microsoft store and connected to my server to run the commands, I believe there is a web Terminal on the Hostinger hpanel page, but I haven’t tried that as I’m comfortable using the Putty command line interface, but there is definitely a learning curve there. Another problem is if your vps IP is listed on Spam blacklists, so consider that as well if you’re going to go down that rabbit hole.